How to build a quilt room…
This is the second in a series of blog posts which will deal with my take on building your dream quilt room. If this is something that interests you, you can read the first blog entry on this subject here. This renovation is designed to optimize space for our entire family in our (previously) unfinished basement. This has provided me with the rare opportunity to build my room from the ground up (literally), and there have been so many decisions already. The primary driver for this isn’t cost, but space efficiency. This series isn’t supposed to be a room tour as you see on YouTube or Instagram - although rest assured there will be one - but more of a let me take you through the thought process as to why decisions were made. If I can help anyone along on their own journey, I am happy to share. Let me catch you up.
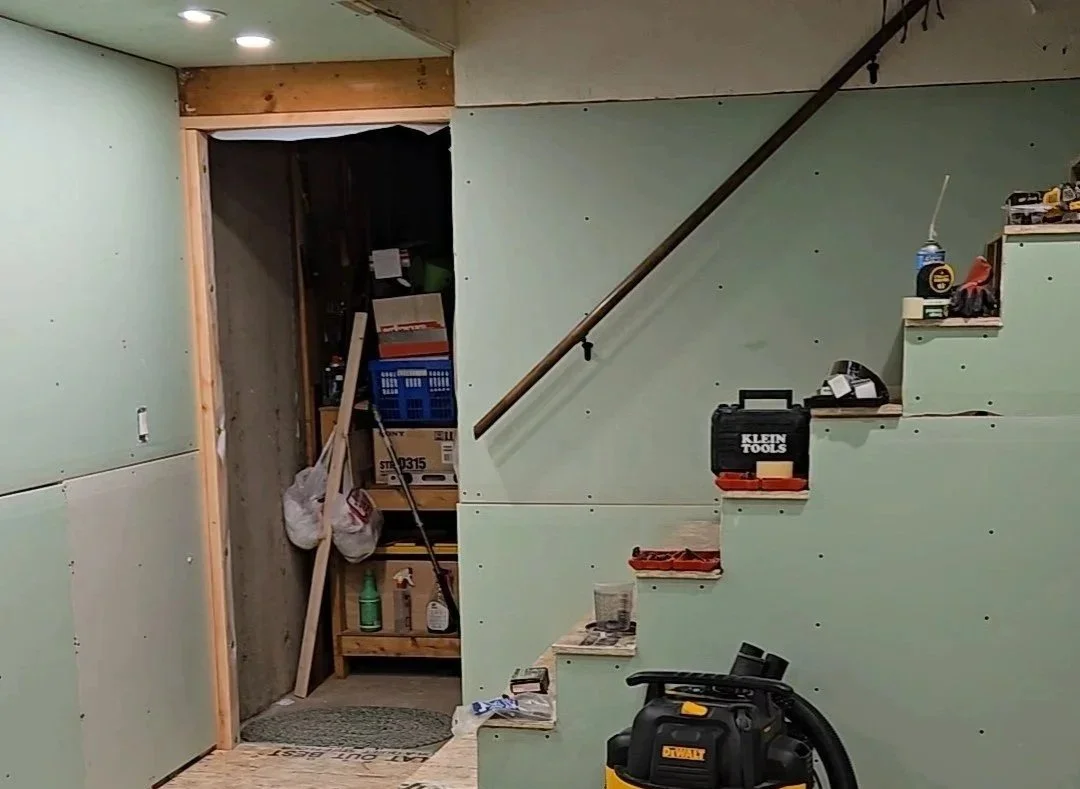
I didn’t tell you that there’s a staircase in the Cave?
There has been progress! A lot of progress, as a matter of fact. This viewpoint is from the back wall of my space, looking towards the stairs. We have drywall up in both sections that are to be finished, and we’re most of the way through mudding and taping. First off, at the very bottom of the stairs you can see 2 of the 3 potlights - that’s where my large design wall (yay!) is going. It has it’s own switch, and there is plenty of lights down here. Through that door is my husband’s workshop - which will have a door on it to control dust. The other room that’s being finished is off camera to the right. The drywall is tinted green (which is messing with my ability to pick paint colors) because of mold prevention; as I’ve stated before, we don’t have issues nor do we expect any, but there are just some decisions that are smart money.
I haven’t talked about square footage yet. If you compare the current space and the new space, there’s about a 10% difference - which I am assuming will be resolved with organizing solutions. The main difference is that one has a closet, and the other has a staircase, and a soon to be closet. I can say that since the last blog post, I’ve decided that I will be using the items I have in my space - my beloved used Ikea instead of building new.
One of my concerns with this has been maintaining a cozy quilt room vibe. I’ve seen a lot of basements that look cold, industrial, neon lights and early sports bar decoration; I’ve looked at (and saved) a lot of photos that lead me into an opposite direction. I’m not sure whether that will work or not, but I keep walking.
I have picked out a main color for my portion of the space, and it’s a far cry from the Bold yellow that’s been a hallmark of this room.

My new paint color
My research has shown me that the best light for an underground room is a warm, soft off white. To me, that speaks to the cozy feel I want…so I’ll be going with:
Benjamin Moore’s Swiss Coffee
I trust that with all the color and pattern in the fabric, this will be a great backdrop.
We’ve also picked out the LVP flooring that we like. It’s a warm color that’s similar in tone to the hardwood I have upstairs in the kitchen. I have to admit, I am looking forward to seeing this come together.
One of the first things I did in this project was to measure the space and plot that on graph paper. If I have one tip, it’s to do the plotting and measuring for this step as detailed and as accurately as you can - and then scan it/photo it into your computer before you start playing with furniture arrangement. It took me more than a dozen revisions as to what to do, and this step saved me a lot of time.
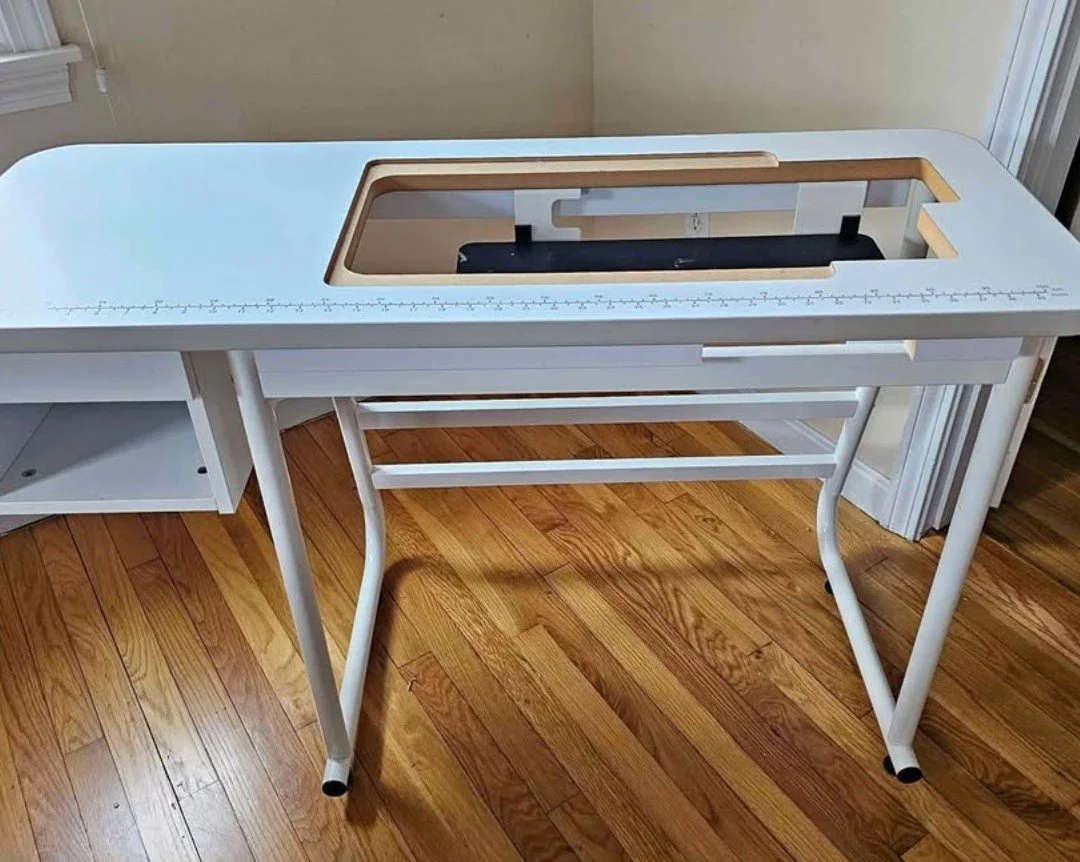
It quickly became apparent that the old Ikea desk that I had was far too big for the new space. Truthfully, it was far too big for the old space too, but I made it work for a long time. One of the first things I did was to decide that had to go, and I sold it (to another quilter) on Craigslist - and I was happy to have that item out the door.
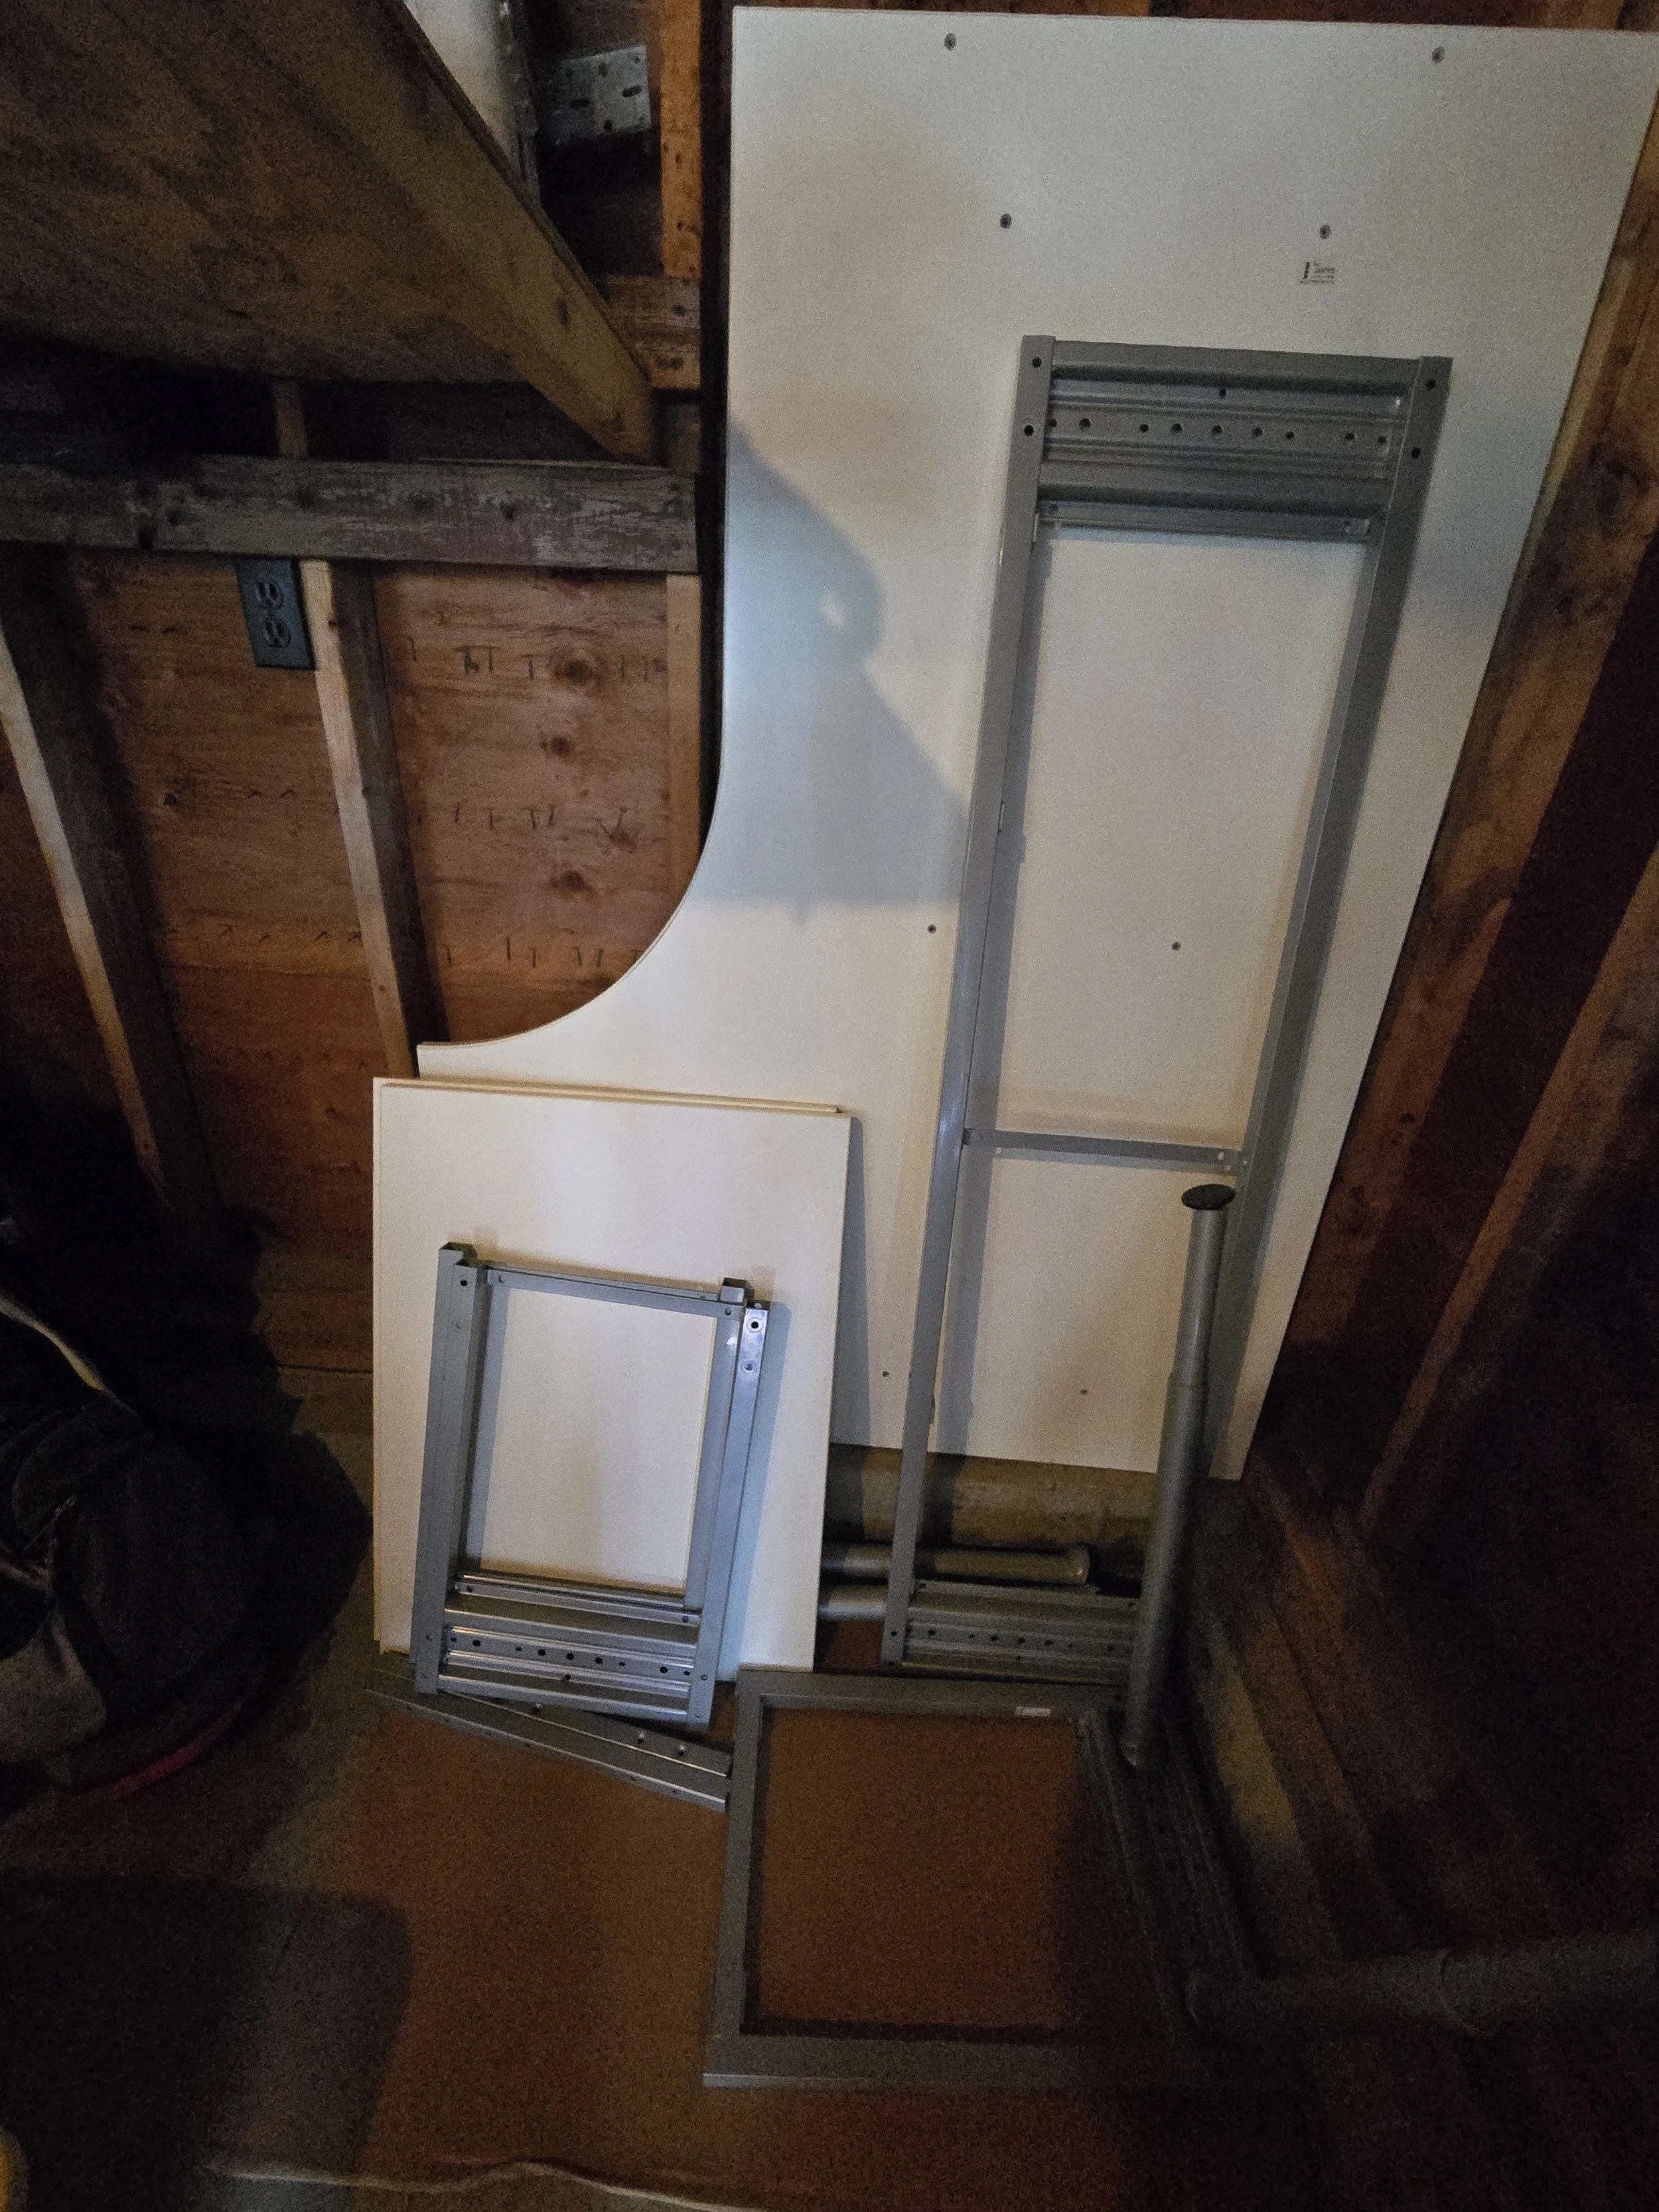
The Ikea Galant table was too big for my space, and I was happy to resell it to another quilter.
With the desk sold, I began looking at what I had in the current space that I could repurpose. I took the Linnmon desk that I had had the sewing machine on, and discovered that it’s the perfect size for a computer desk. It’s not too oversized, nor too small.
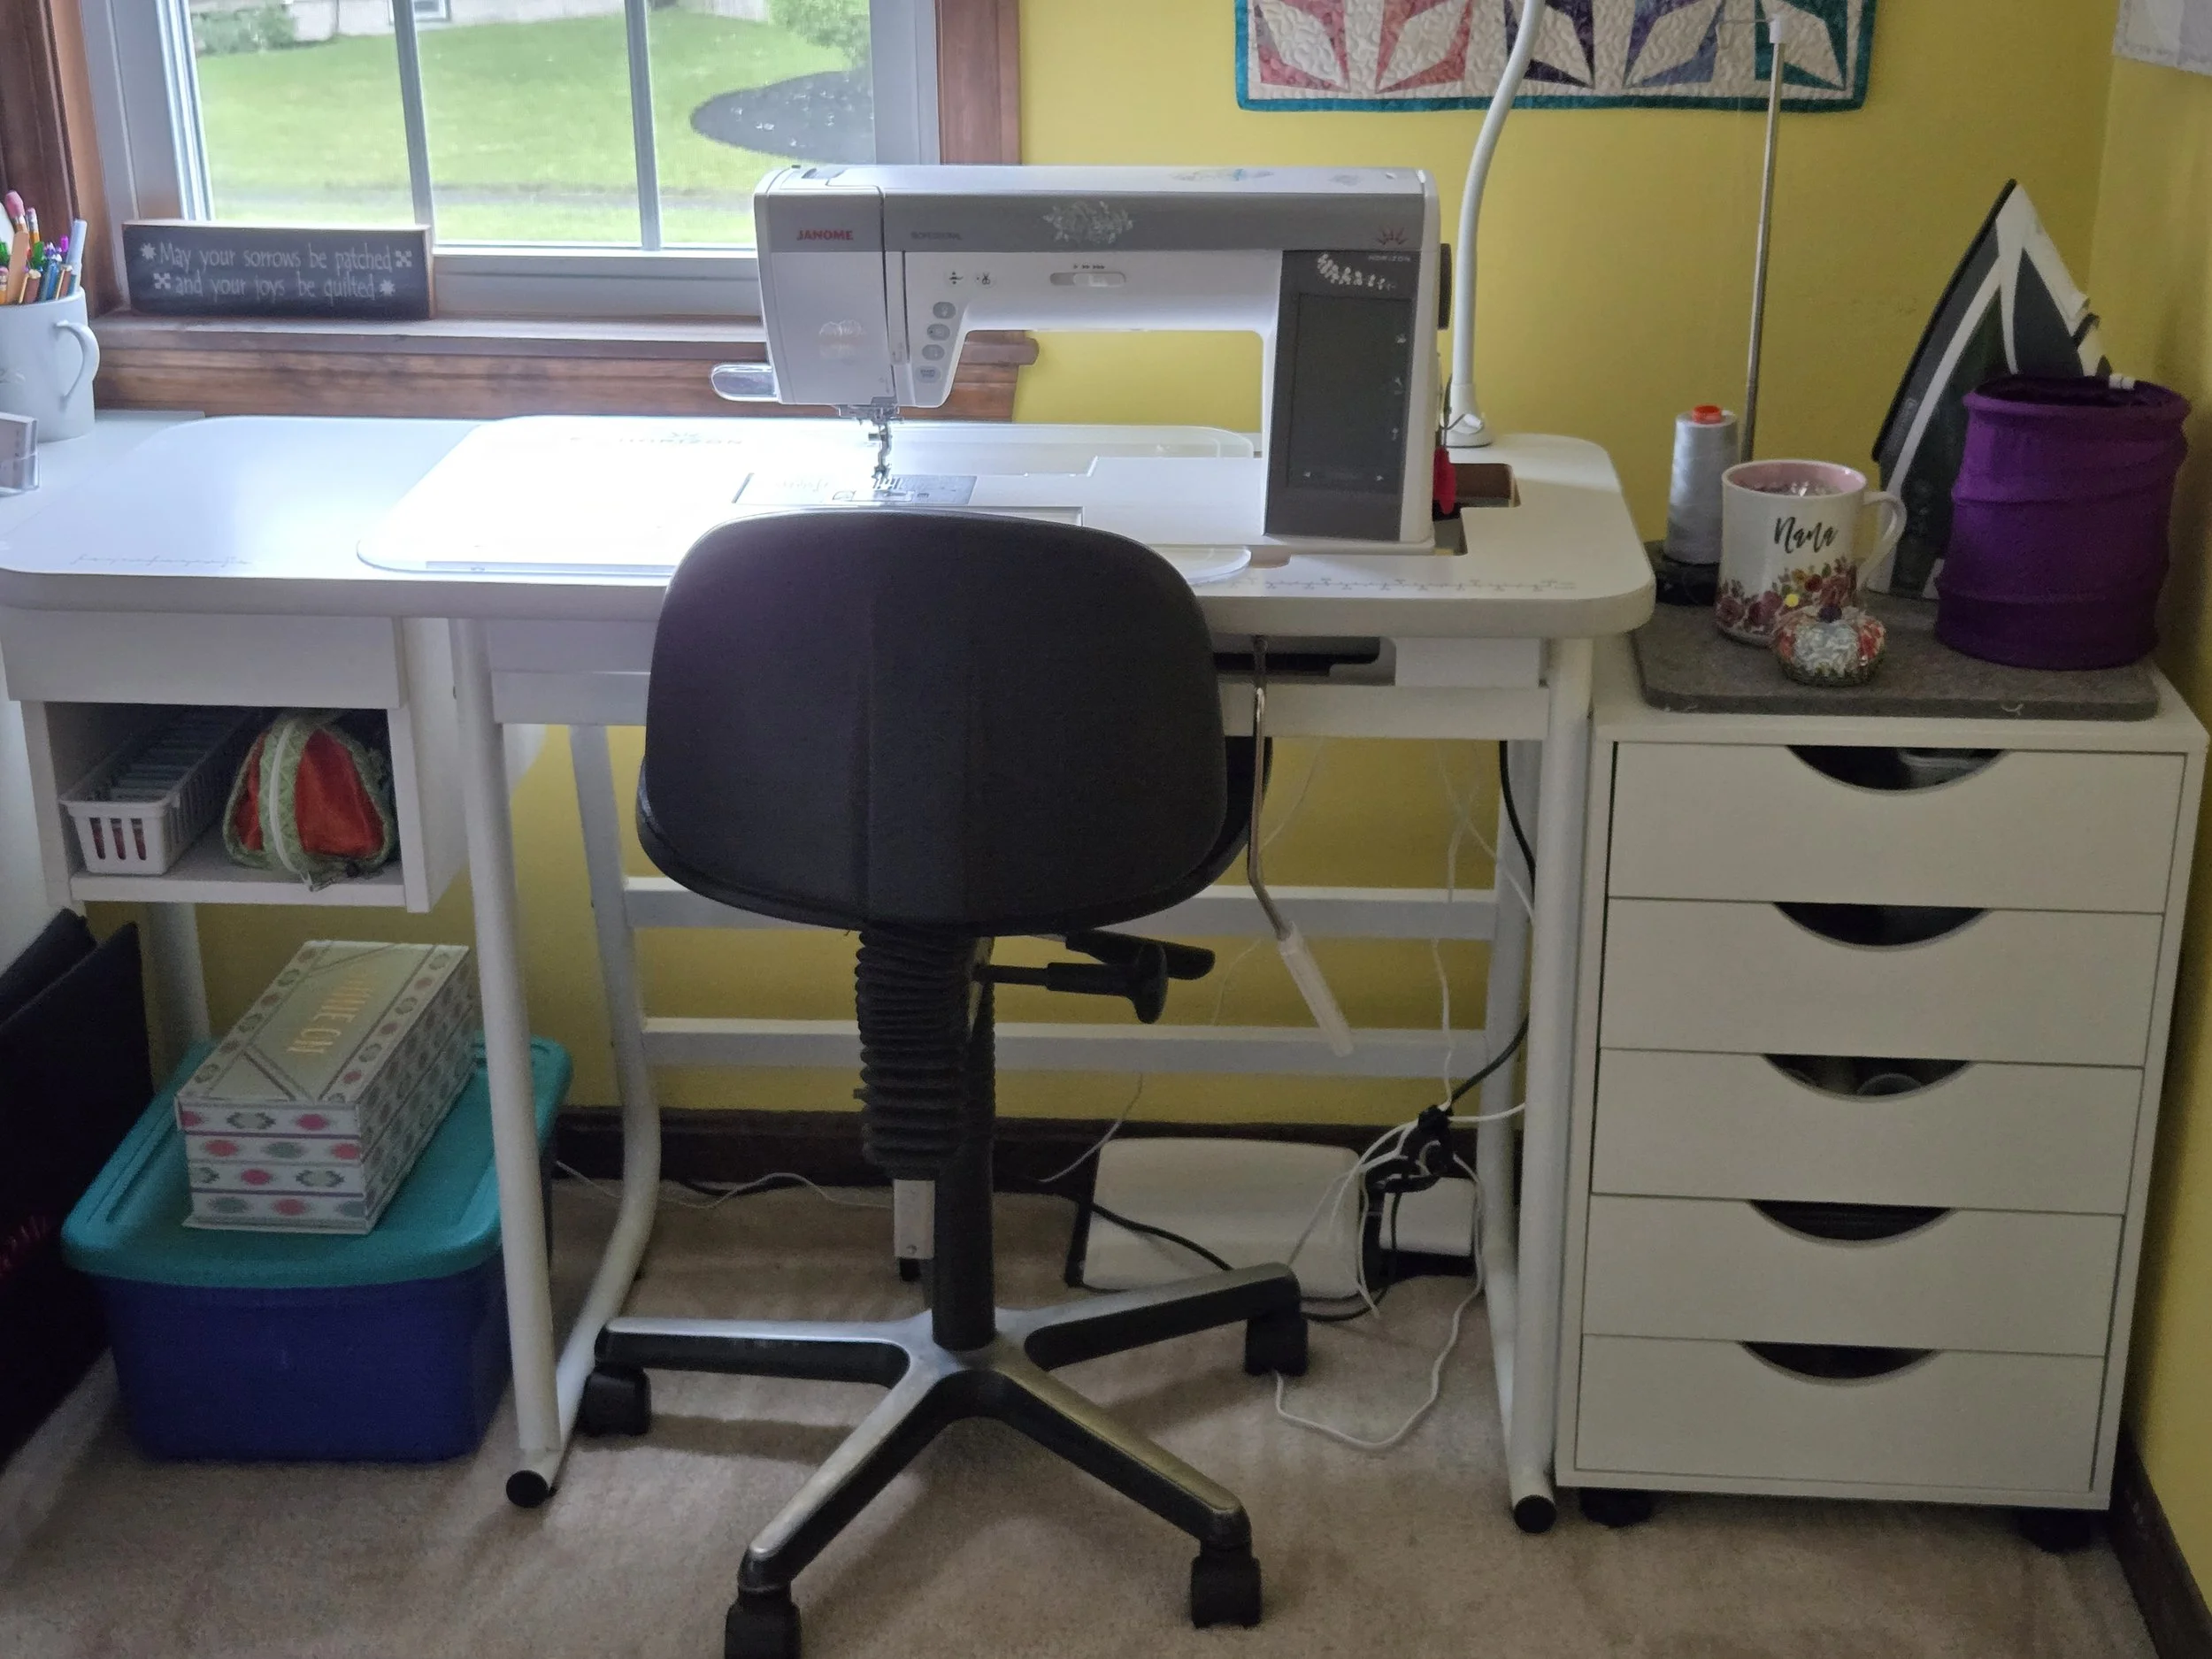
That left my needing something for my machine. I looked at a lot of them - the high end included and my main issue with many of them is the amount of space they took up. I was looking for a solution that had my machine sitting into the table flat. Then I found this on Marketplace - how often do you find the perfect solution? I found the flat mount AND the opportunity to use my knee lift - something that couldn’t be done with my table.
This universal table is in pristine condition, and it is made for the 9450!
The one downside is that I quilt many of my own quilts on my Janome 9450, and this table is narrow. That dovetailed into the next purchase…come back for the next installment!