Toolkit: Ways to use a Hera Marker.

This tool has been in my toolkit forever -
When you have been quilting as long as I have, it’s natural to develop favorite tools for different tasks. When I finished the Neverending Quilt, I had to do a lot of marking on the border grid…there is no way I would have attempted that without marking it. My favorite water soluble marking pen is the Mark Be Gone, and it’s always performed well for me. As it turns out, I used so much of that pen that it rank out of ink long before it ran out of grid to be marked. Lesson learned, keep a backstock. But with a deadline looming, I tried several options that I had here in the workroom. And I was floored to discover that the Hera marker was perfect - and was a lot simpler to use because I didn’t have to remove the blue lines.
I’ve had it forever, but never really worked with it. The tool itself is made by Clover, and it’s a simple, plastic tool that has a knife edge to it which puts a great crease into cotton fabric. It stays put, until you spray the fabric with water, which releases the crease in the fabric.
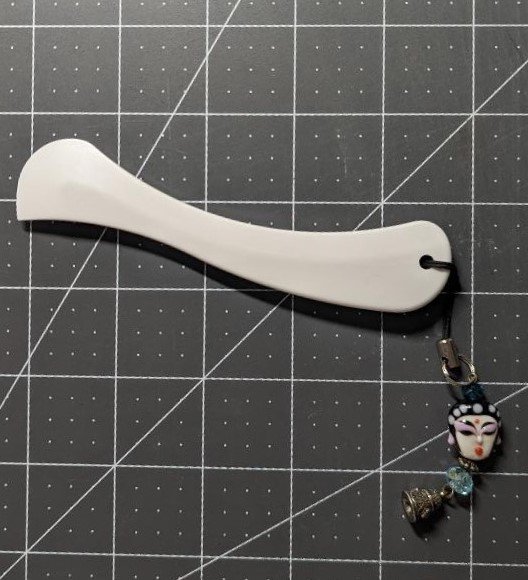
The Hera Marker
The beauty of the Hera marker is that it has a clean design, fits comfortably in my hand, and actually can perform well in a number of applications.
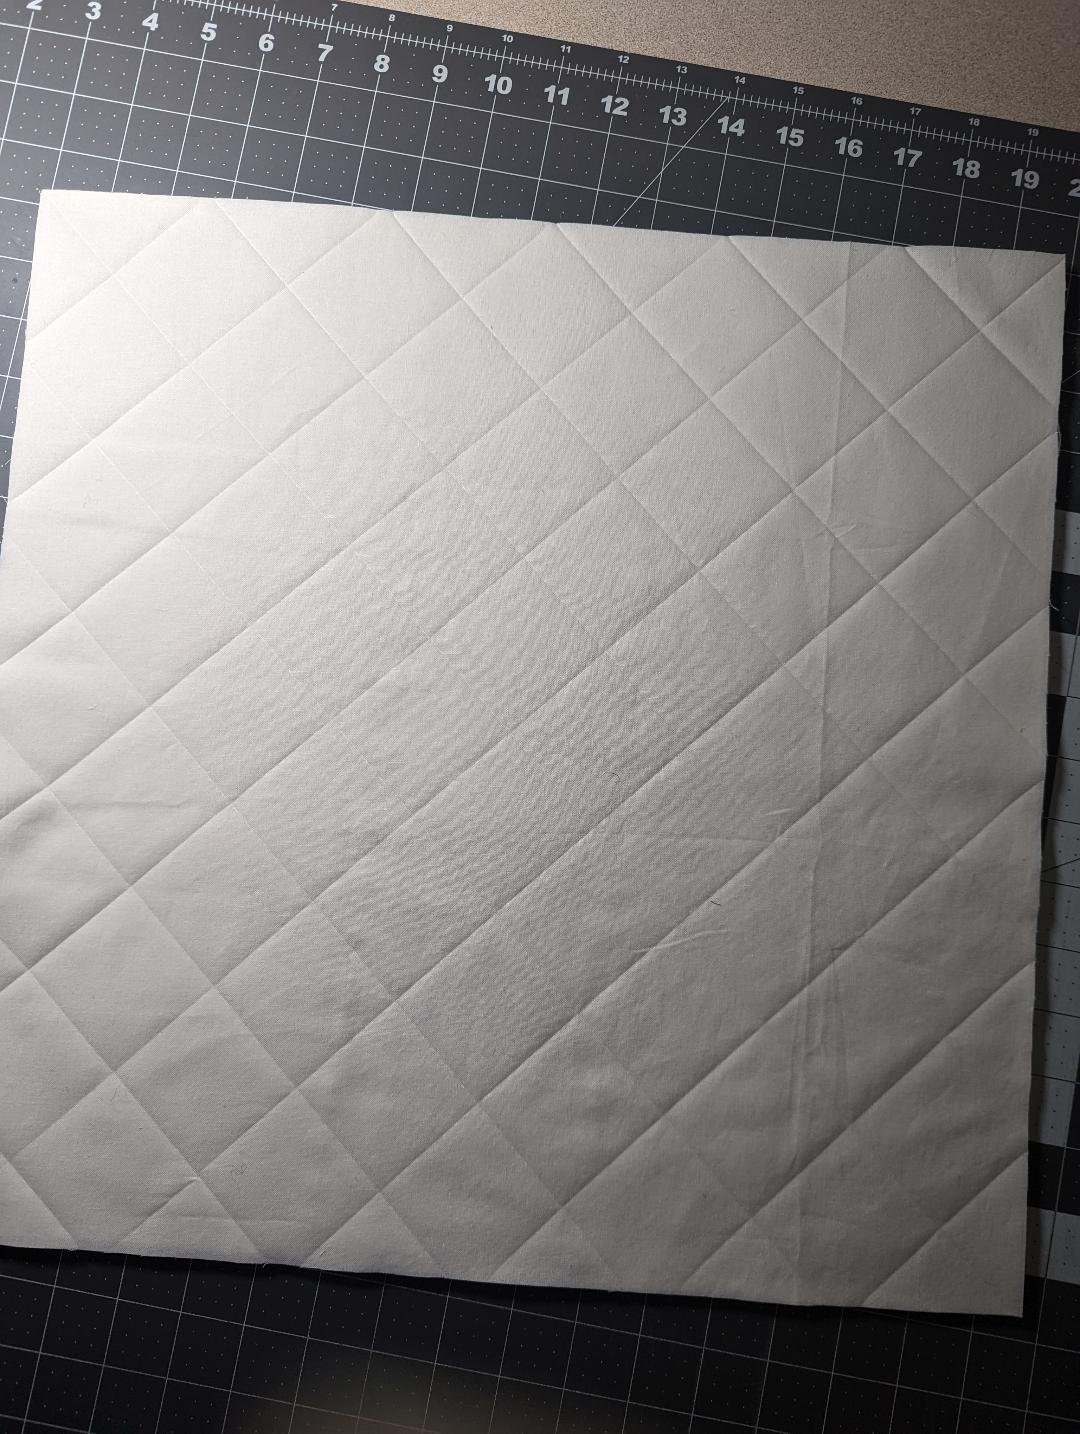
I used the Hera marker to mark a clean grid for a sample project using a solid color.
The shadows in the photo allow you to see how easily you can see the line you’re stitching on. I appreciate that as my sewing space can become dark quickly now that it’s fall.
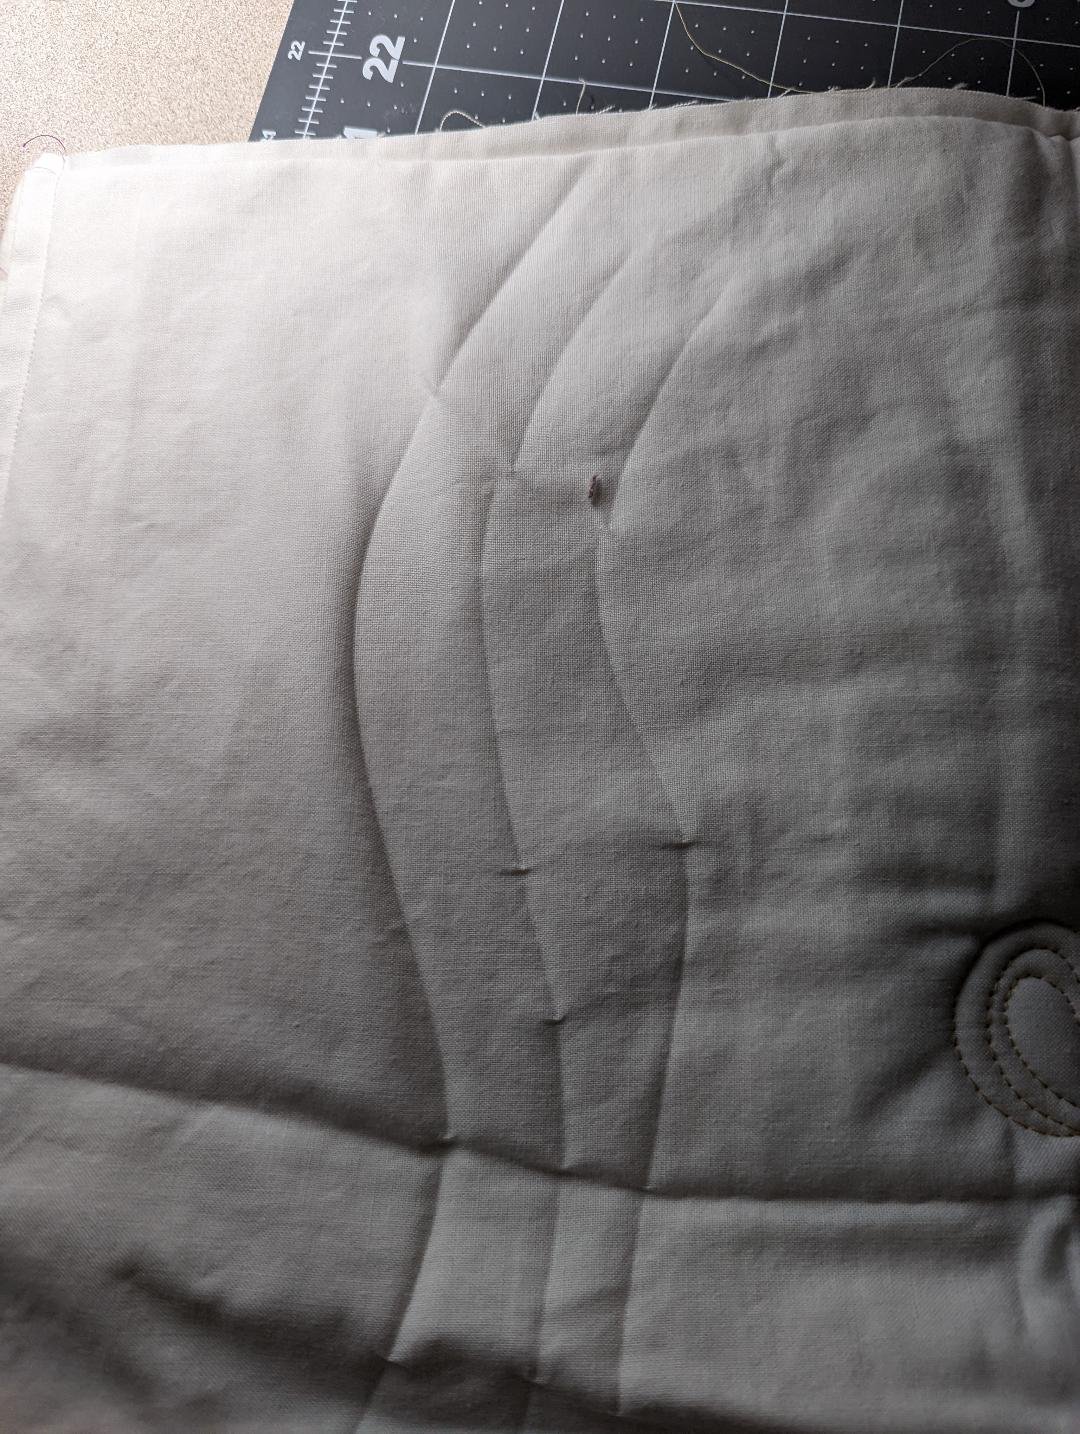
Here’s another sample piece, which shows that you can use the Hera Marker to draw gentle curves onto a quilt sandwich.
To get the best results with your Hera, you want to have a layer of batting underneath your piece to help cushion the crease. This is perfect for a quilt sandwich.
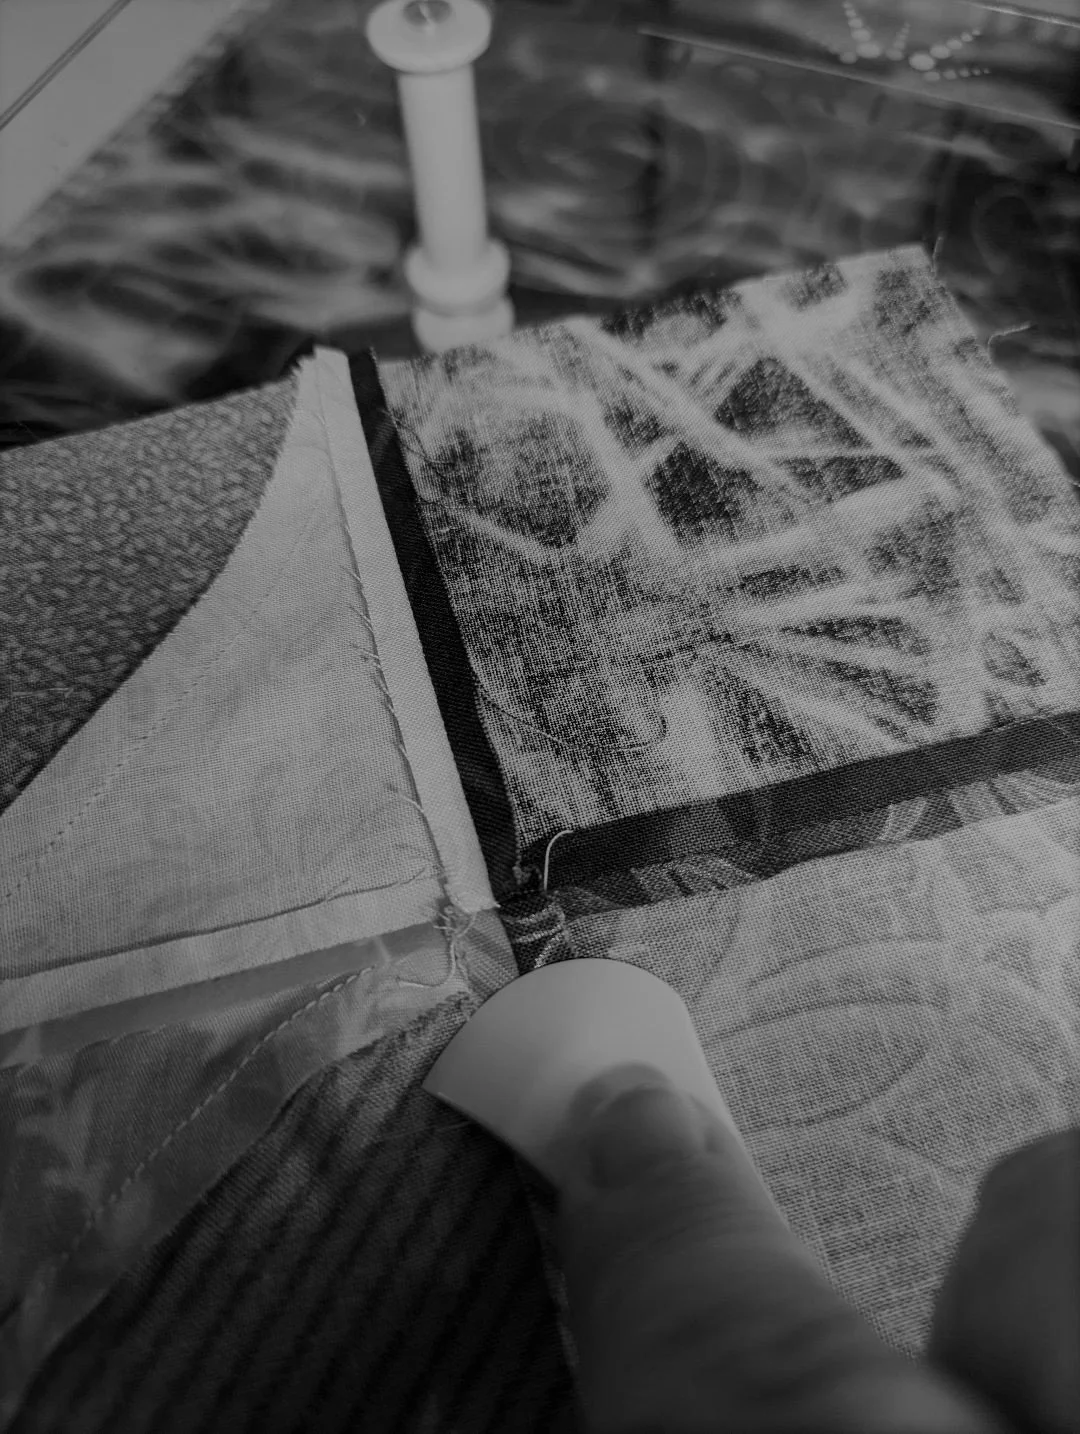
With my sewing space setup, it’s not always convenient to have an iron plugged in next to me.
The Hera Marker can be used to press your seams open (here), making it easier to follow the pressing guidelines in a pattern or a technique.
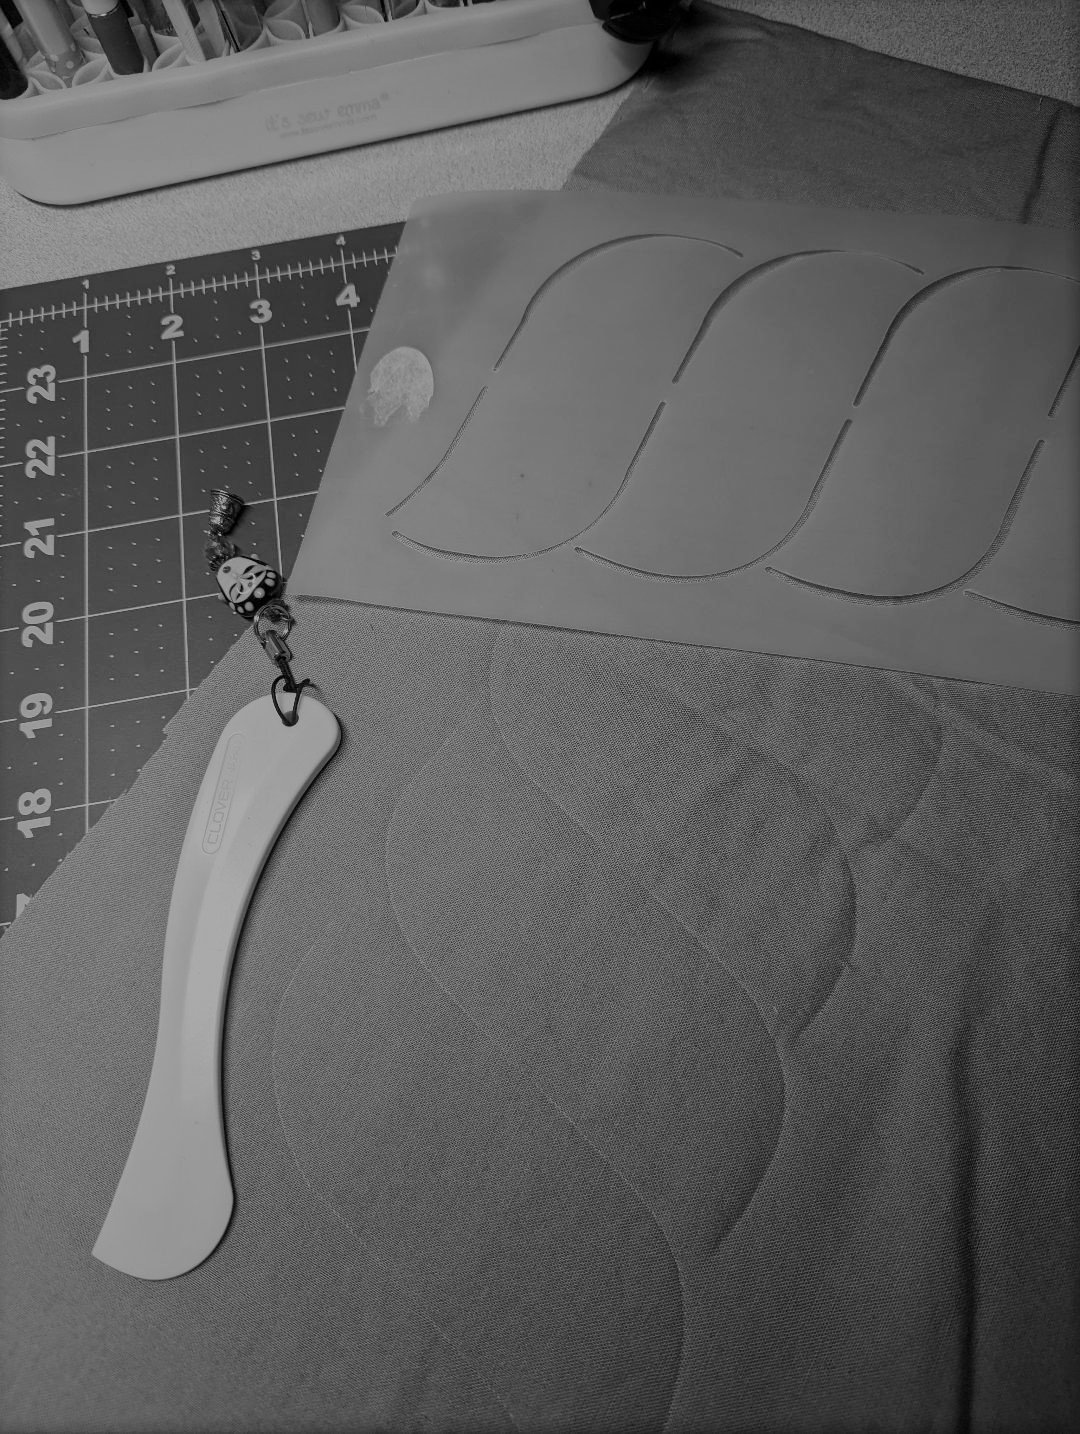
As I explored the use of the Hera Marker for this blogpost, I was surprised to see a suggestion to use it to mark a stencil.
Here, I tried it out on a piece of scrap. If the stencil were very small or detailed, I’m not sure that I would have the patience to use it for this.
But a large scale cable in a border - yes, please!
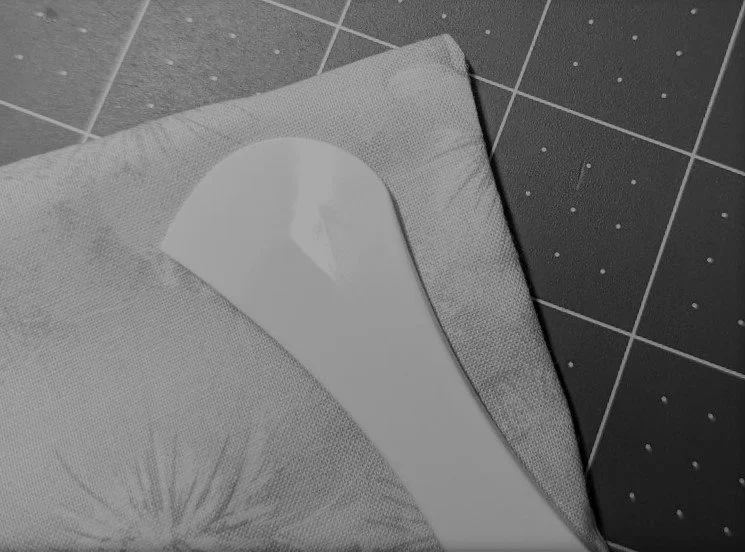
The pointed edge of the top of the Hera Marker makes it a great tool for turning edges out.
Here, I used it to turn out the edge on what will be a quilt sleeve. This is a perfect use for this.