5 Steps to Transfer an Embroidery Pattern
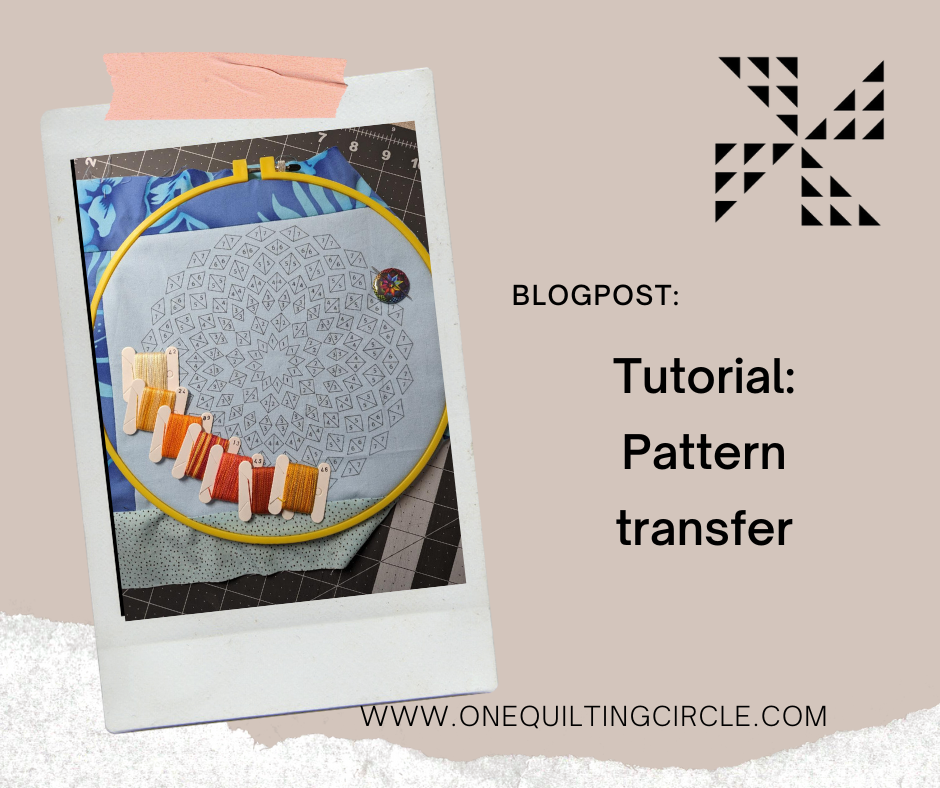
Here’s how I transferred this embroidery pattern to fabric…
This past weekend, I gave followers from my social media accounts a preview of a second new-to-me new project - this one is an embroidery project. I have missed the slow stitching of handwork, and I’ve been looking for a project I wanted to take my time with - it’s ALMOST spring, and I’m thinking of summer porch stitching.
I’ve had the threads for this project for several years - a beautiful collection of hand dyed cotton threads from House of Embroidery in South Africa that are perle 8 weight. The threads come from South Africa, but here in the US you’re much more likely to have found them at shows or online through their distributor, Global Artisans Designs. I’m much more familiar with 6 strand floss (which is what I used for the Snowmen project), but this weight of thread will have a more substantial weight to it. I enjoy exploring new techniques.
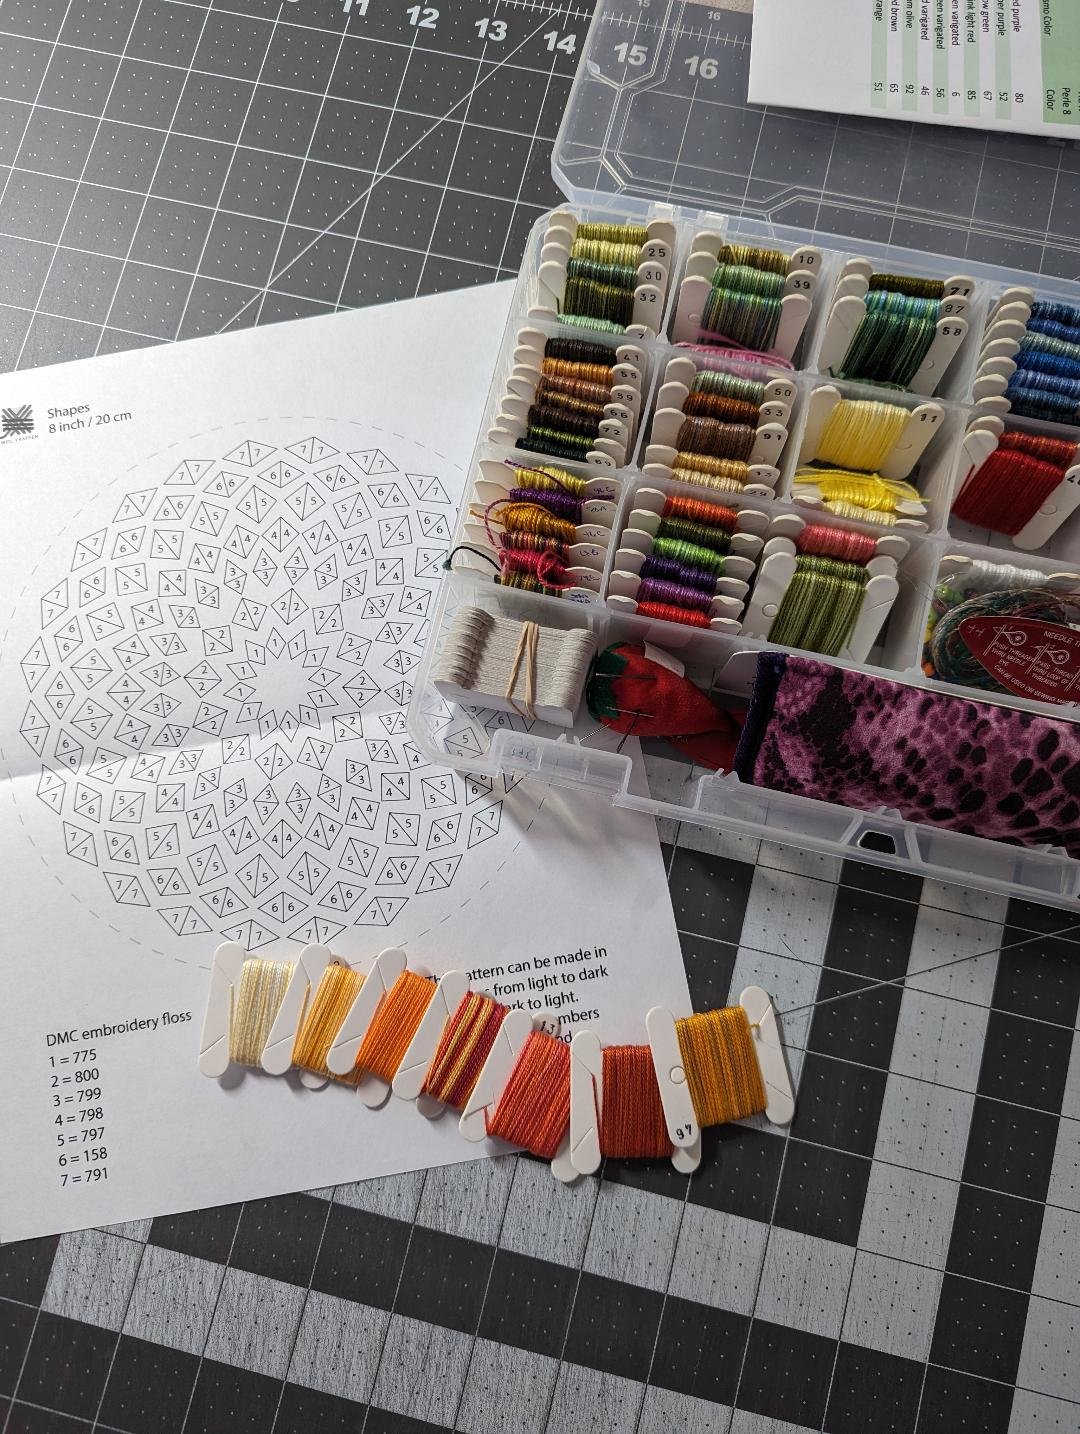
Some of the beautiful colors contained in my Perle 8 stash from House of Embroidery.
One of the accounts I’ve been following over on Instagram is a Dutch embroidery artist named Wol Fratsen. You can shop her website - talk about eye candy! - online at www.wolfrantsen.com or give her IG account a follow. The work is clean, beautifully designed and just make me happy when I look at it. Last year, she had a flash sale for designs from her website, and I picked up a bundle of several pdf designs that I liked. This one is called Shapes, and it mirrors (to me) a sunburst motif. In the picture above, you can see the colors that I pulled from the thread box to work from the center to the outside. This project is destined to ultimately go on the back of a jean jacket, so I pulled a blue solid fabric to use as the basis of the design.
The first step was to print out the pdf pattern to see how it fit onto the paper - was there distortion? It’s a bit smaller than the hoop I will be using, but if you move ahead a few steps, you’ll see how I worked around that.

This technique works on a motif that fits on a single sheet of paper. I had to place the heart over the pattern to protect the Artist’s original design.
Step 1. Print out the single page pattern to ensure that there is no distortion to the printing process - in this case there was not.
Step 2. Scan that pdf back into the computer (I have a printer-scanner-copier on my desk), but save that as a .jpg.
Step 3. Crop the ,jpg file to remove any lettering, logo or descriptions that you want to remove. I save it as a copy of the scanned file, not the original. If you make a mistake in the cropping process, you can just start over.
Step 4. Select the fabric you want your project to print on - and I can use anything in my stash. It does not have to be specialized fabric for this - I have used solids, tones on tones, grunges, anything that you can see. I use this method for printing my labels for my quilts, and with this project, I’m going to be printing in black and white.
Step 5. The fabric in step 4 should be the size of a sheet of printer paper - so that is 8.5” x 11”. You also need a sheet of FREEZER PAPER cut the same size, and you iron the shiny side of the paper to the back of your fabric. I always make sure to seal completely around the edges, and then I let the fabric/freezer paper cool completely. I never put it into the printer if there is any heat that I can feel. One cooled, feed that into the printer, and hit print.
Once the pattern prints, you can simply remove the freezer paper from the back, and then trim if needed. I decided to trim the top and bottom, making the piece square-ish. I added a second layer of fabric to the back to give the piece more substance, and then I added strips around the perimter of the piece to accomadate the hoop.

This is all ready to start some practice stitches…I think the colors are going to look very pretty together.
This technique worked well for this case because of the size of the project. I knew it would fit the paper - truthfully, I picked this design out of the bundle for that purpose.
But there are two alternatives. The first would be to trace the design using a light box (or a clear acrylic table, painters taps and a phone with a flashlight app) to manually trace this. Looking at this design, I wasn’t a fan because of the nature of the design. One wrong pen stroke could mean a lot of work ruined - and I hate that. That was Plan B for this - and I was glad Plan A worked.
The second option available is from the Artist’s sight - she has several printed fabric patterns available for sale on her website, and that would take the work out of this part of the process. If I were to do another piece larger than an 8.5” width, this is the route I would definitely use. You can see her entire catalog of fabrics here.
I have used this method of printing on fabric (both in black and white and in color) for years…and I’ve never had an issue with the ink running.
So the only thing left for me is to do a few practice stitches (the satin stitch is new to me)…so here’s where I’ll be starting.
What’s your favorite way to transfer embroidery patterns? Have I missed something?